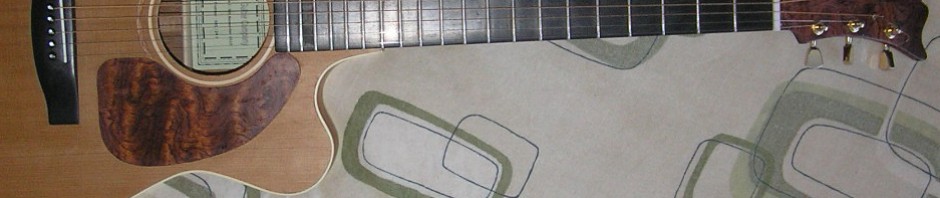
Fitted the rosette and it took me 4 hours, the time it took sort of surprised me a little but being as I am documenting how long it takes to make this guitar I need to be accurate about the time. In fact I cut the outer diameter 0.5mm less than it should be and I especially took my time to get it right. What I do is cut the inner and outer edges with a tool I made, basically a compass with a scalpel blade, then I remove the wood between the two with a router. I made a good job of it but not a perfect job.
 I have also got the bracing done and that took me 5 hours. You have to bear in mind that I am not trying to get jobs done in any particular time, I am just documenting how long a job takes.

 I have also sorted out the lining, binding and purfling. I need to bend the lining on my bending iron, this guitar does not use any kerfed lining, this guitar is based on an old 1960’s Suzuki classical guitar and that has a plain lining on both front and back. The soundboard on this guitar is flat, the back will be domed.
 That’s all for now.

